You know those pinked (jagged) edges on precuts? I’m not a fan. Well, I get it, they keep the fabric from fraying, and that’s obviously good. But when it comes to cutting them or sewing them, I grouse around wishing for a straight edge!
I thought I’d show you how I went about eliminating those jagged edges when cutting for my Churned Up quilt with a pack of Benartex 10x10s of Modern Marks. I hope these tips help you when cutting for patterns that call for hacking up precut squares with jagged edges!
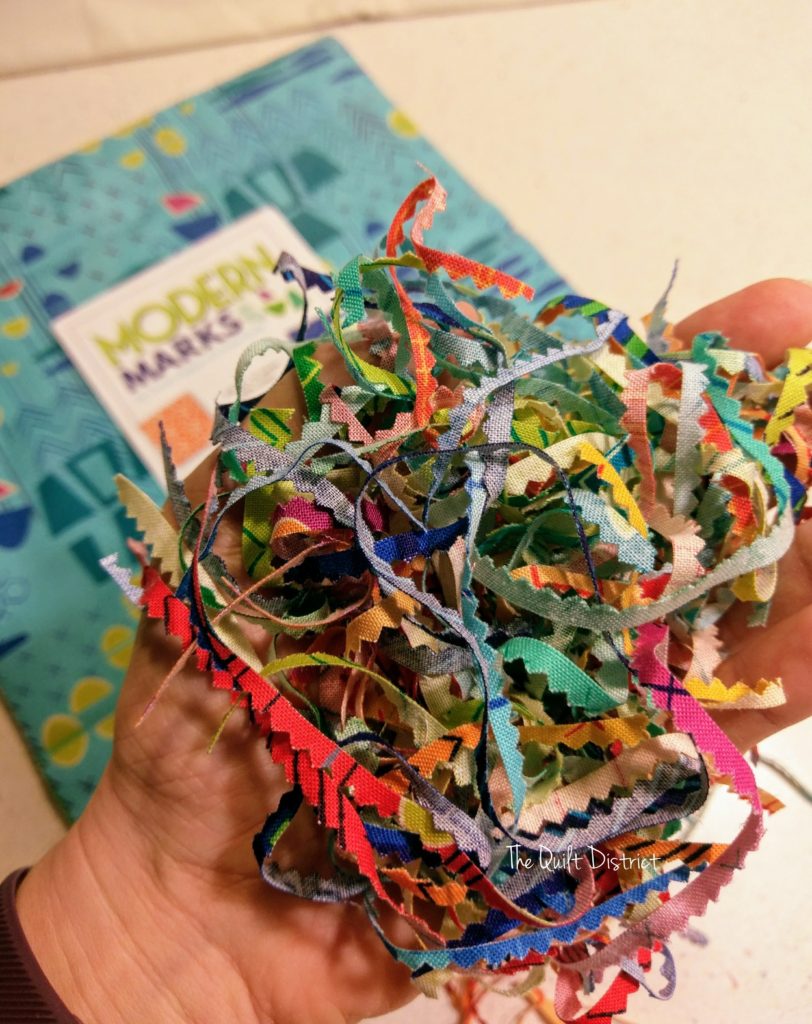
You’ll end up with sliver-trimmed bits like these:
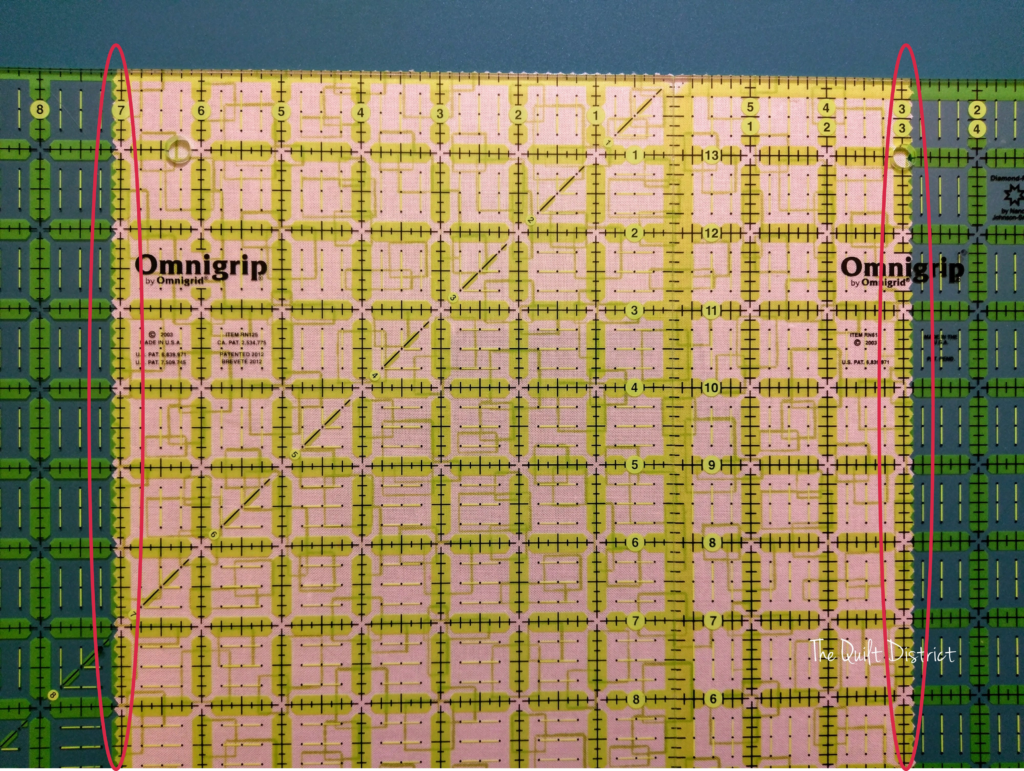
I needed to cut the 10×10 square into a 7″ piece and a 3″ piece. I set two rulers side-by-side and checked for the sweet spot where I could get the sizes I needed with just a smidge of those jagged edges extending past those 7″ and 3″ lines. So long as 7″ fit on one side and 3″ fit on the other, I knew how much of the edges I could take off.
See how those edges extend past the 7″ mark and the 3″ mark?
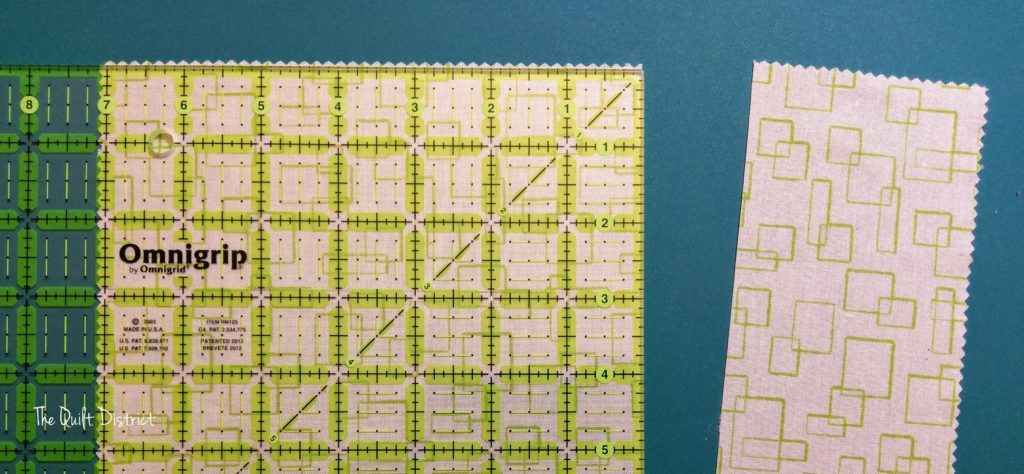
Once you’ve established you can get the sizes you need, remove one of the rulers and make your first cut.
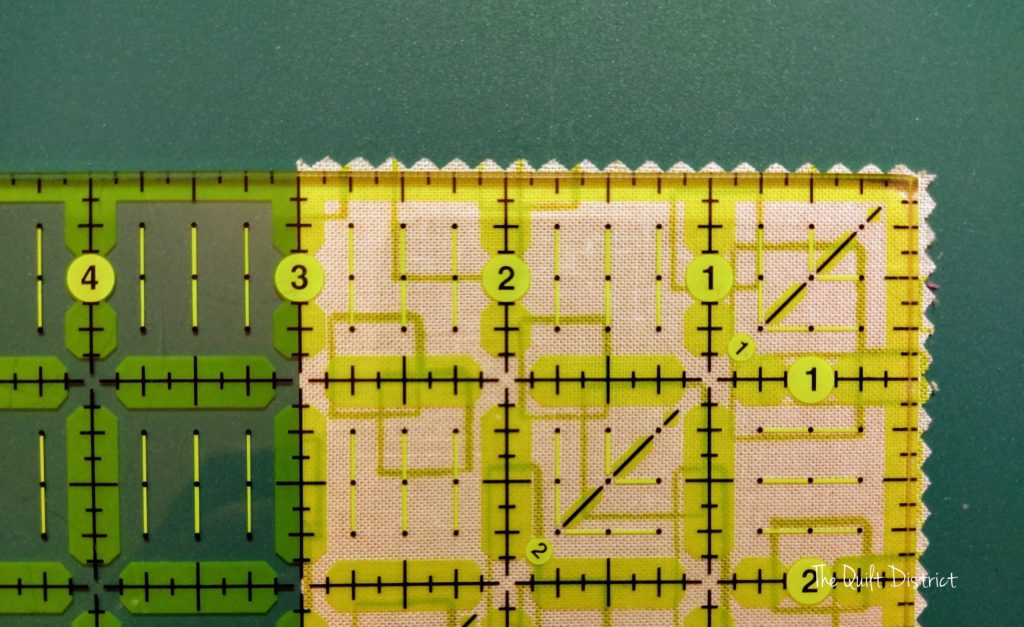
Updated to add (thanks to the suggestion by Yvonne @quiltingjetgirl): Before you take off those pinked edges, measure twice (thrice!) to ensure your trimming will leave you with a piece that measures the size you need. Not all precuts will allow for trimming–jelly rolls, particularly.
To trim the remaining edges and square up the pieces, place your ruler with the line on top of the fabric straight edge, checking to be sure you have enough of the jagged edge extending past your required measurement, and trim those edges!
Whew! Now you can sew with those straight edges!
Happy Trimming!
~~Tara
This is so clever! I love it.
Thanks, Bobbi!
I agree that removing the pinked edges can be helpful for piecing precision… if there is enough room to do so! On larger precuts like the 10″ squares I can usually trim, but jelly rolls tend to be thin enough that I use the tips of the pinked edges for piecing. Thank you so much for sharing and linking up!
I should have specified that in my post! You are absolutely right!