Please use the hashtag #hearthappypillow when sharing your Heart Happy creation on social media. I’d love to see your version!
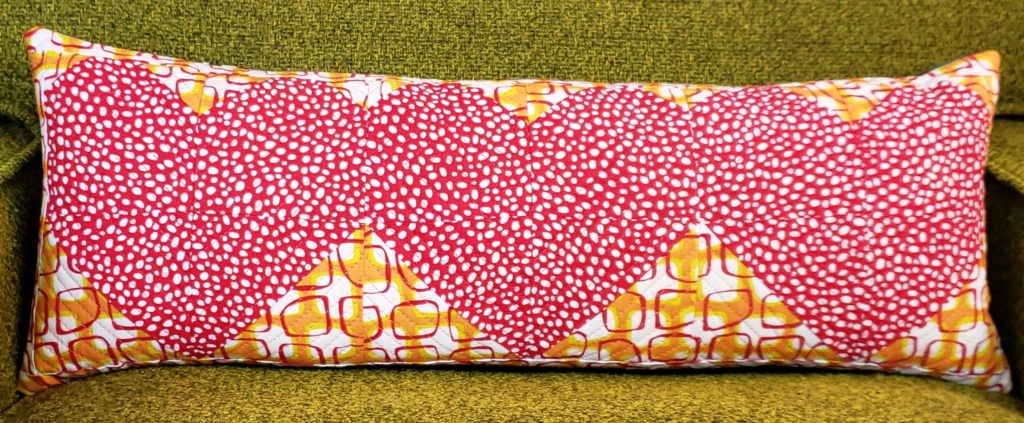
Heart Happy Pillow finished size is roughly 21″ x 8″ x 4″ when stuffed.
Materials
6 red squares at 4″ x 4″
3 red squares at 5″ x 5″
6 background squares at 1 1/2″ x 1 1/2″
6 background squares at 2″ x 2″
3 background squares at 5″ x 5″
2 background strips at 1 1/2″ x 7 1/2″
2 background strips at 1 1/2″ x 23 1/2″
quilt batting 8″ x 25″
fabric for interior panel 8″ x 25″
(muslin or fabric you don’t like any longer–this will be the back of the quilted pillow front, and no one will ever see it!)
fabric for the pillow back 9 1/2″ x 23 1/2″
stuffing for your pillow
(I used a basic poly pillow stuffing)
Sew the patchwork front
Mark corner to corner on the backside of all the background squares.
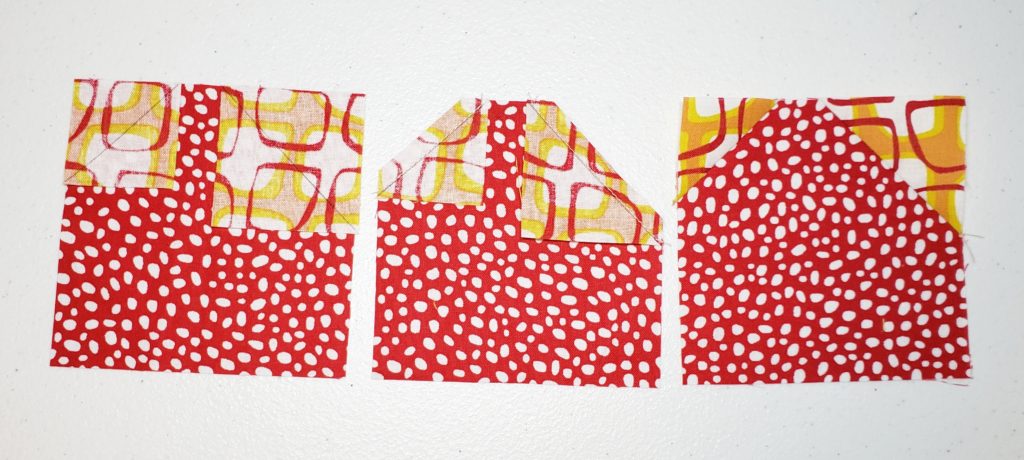
On 3 of the 4″ squares: sew one 2″ square to the top-left and one 1 1/2″ square to the top-right, stitch and flip style.
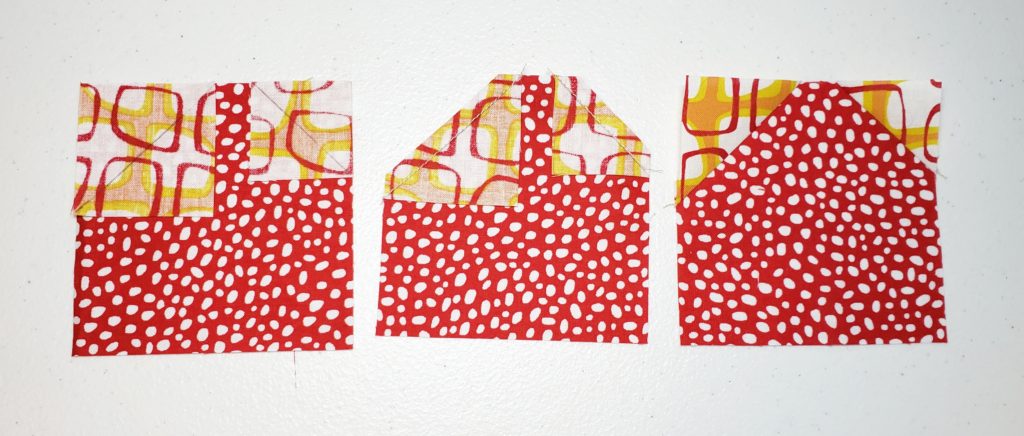
On the other 3 of the 4″ squares: sew one 1 1/2″ square to the top-left and one 2″ square to the top-right, stitch and flip style.
With the 5″ red and background squares right-sides together, sew 1/4″ away from the drawn lines on the back of the background squares. Cut down the drawn line to yield 6 half square triangles (HSTs).
Trim each of these HSTs to 4″ square.
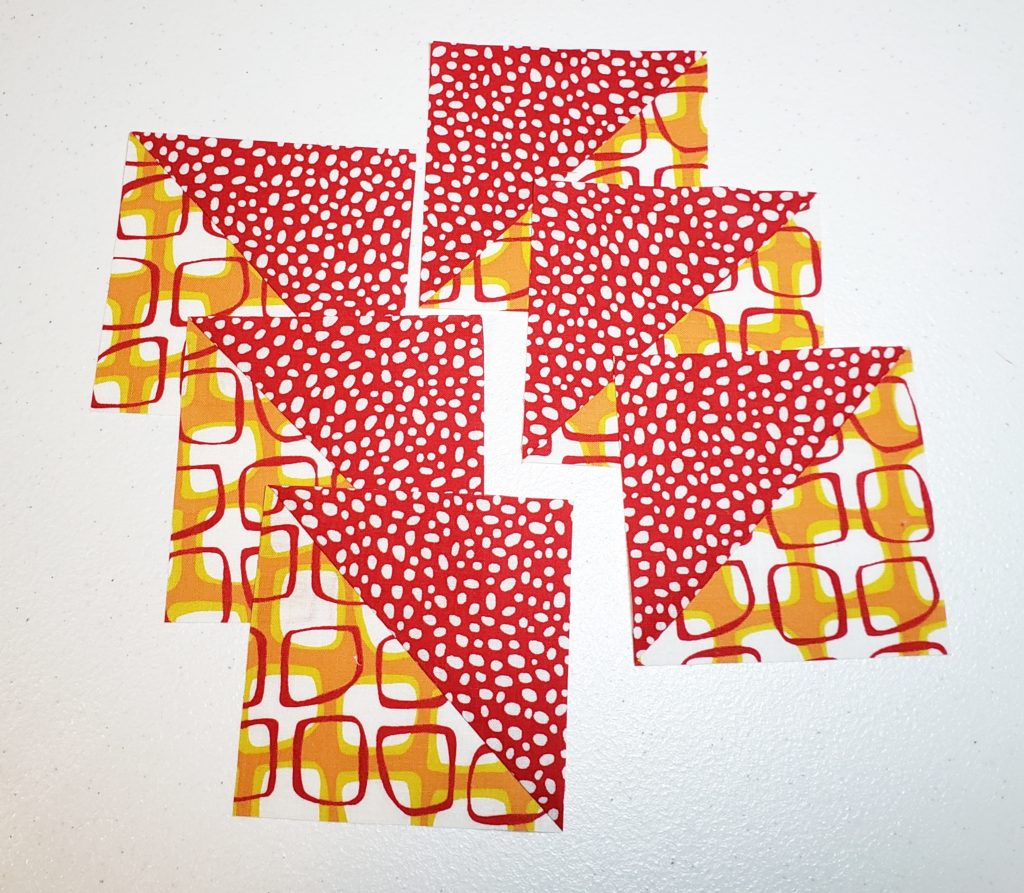
Now, sew the HSTs together into 3 pairs, with the red sides together. These will be the bottom halves of your three hearts.
Sew the “cornered” squares together into 3 pairs, with the 2″ flipped corners sewn together and the 1 1/2″ flipped corners on the outside. These will the the top halves of your three hearts.
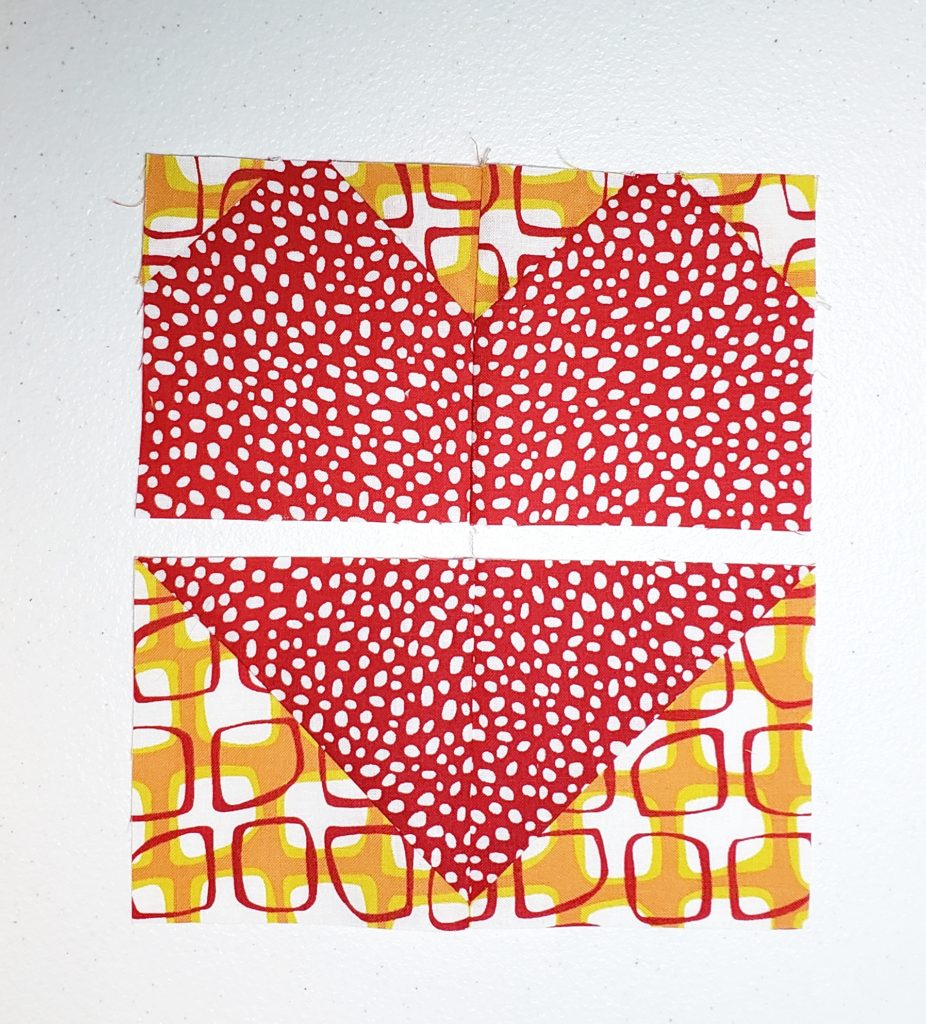
Sew the top halves to the bottom halves, then sew the three together in a row!

Use the background strips you cut to frame the pillow front, like borders on a quilt. Sew the 1 1/2″ x 7 1/2″ strips on the ends, then sew the 1 1/2″ x 23 1/2″ strips to the top and bottom.
Quilt the top
Now, layer this “top” with your batting and “backing” (the interior panel piece of fabric we talked about earlier), and quilt as desired. I echoed the hearts with straight stitching about 1/4″ apart. You can totally do that even if you’ve never quilted before! (tip: use a walking foot!)
Make it a pillow!
After it’s quilted, sew this pillow front to the pillow back right sides together using a 1/2″ seam (don’t use a quilter’s 1/4″ seam; you want this to stand up to pillow fights with your sweetie!).
REMEMBER to leave an opening about 5″ long at one end of the pillow! You have to be able to turn it right sides out.
Also, I highly recommend you back stitch at the start and the end (where the opening is) and at the corners. Let’s make this baby to last, ok?
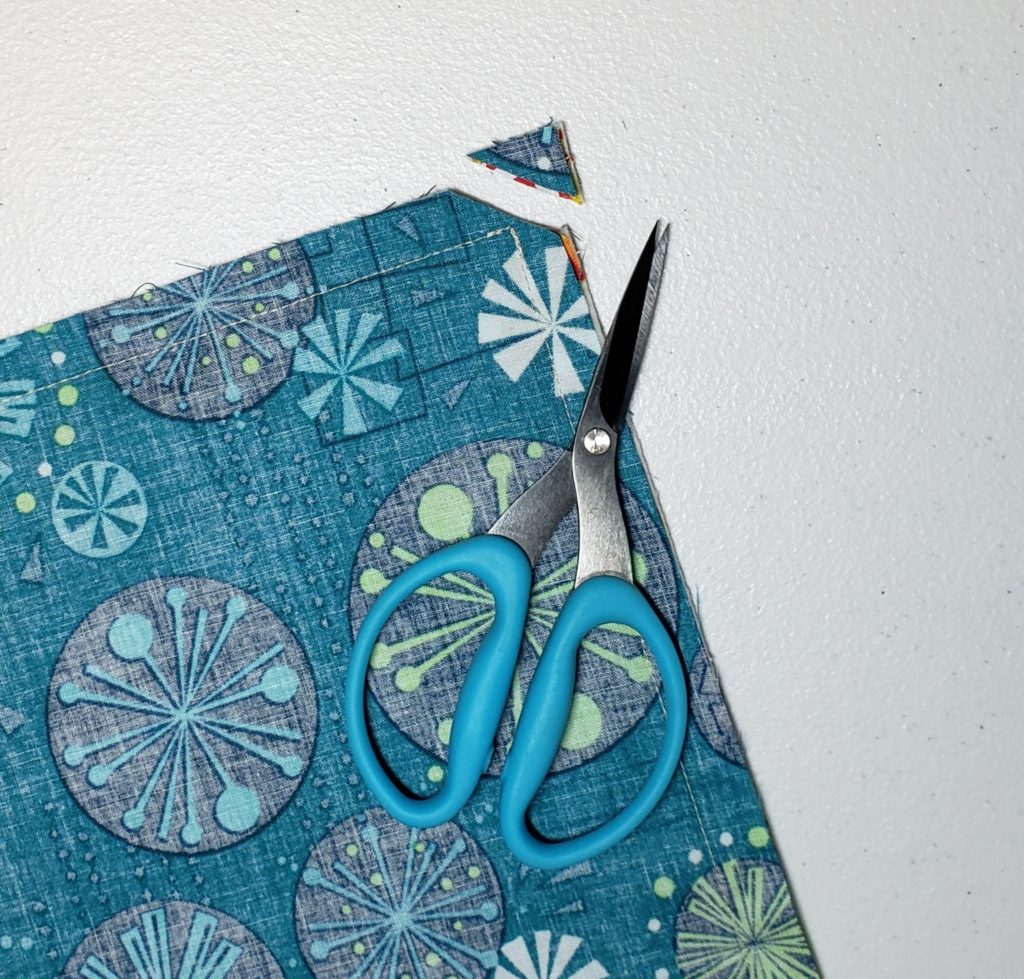
Clip the excess fabric from the corners before turning right sides out. This reduces bulk and makes your pillow look neater.
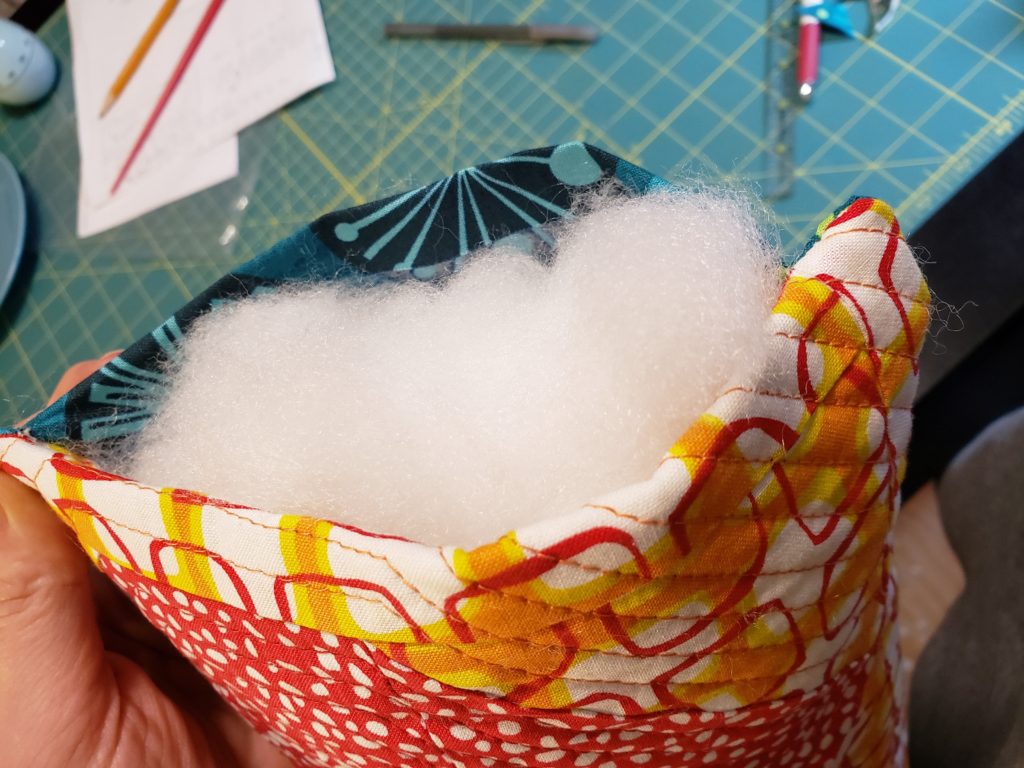
Turn that baby right sides out and stuff it! Get it good and full. The stuffing will tend to pack down after some use, so let it start out plump.
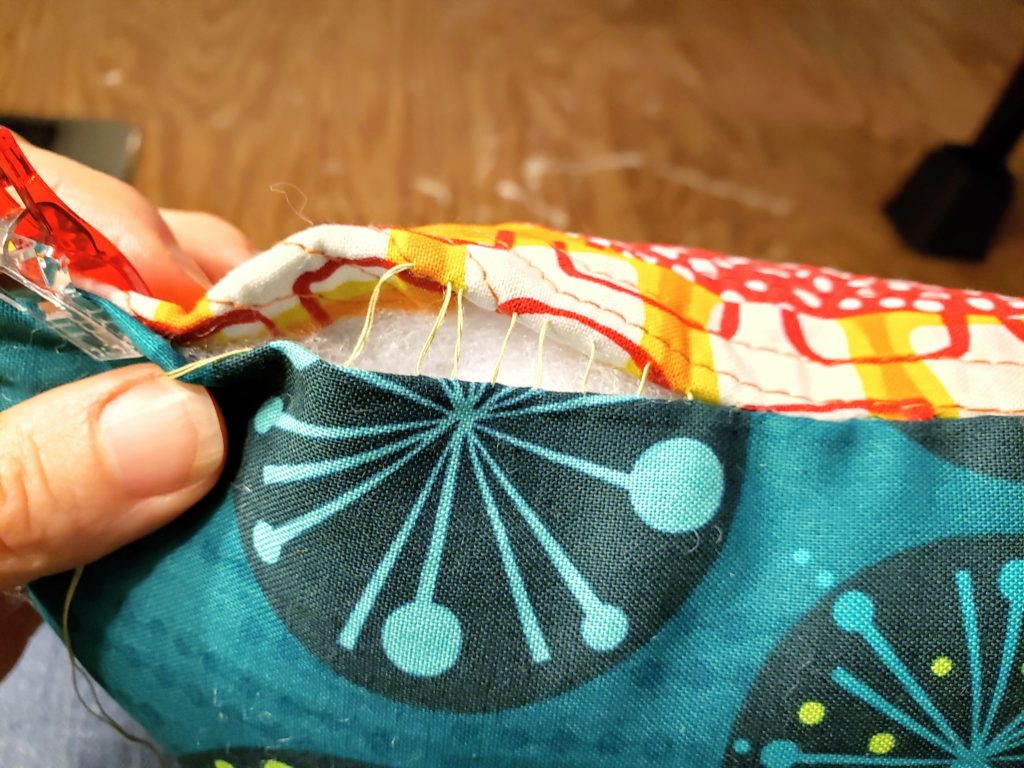
Close it with a ladder stitch (also called an invisible stitch), and you’re done! (lots of tutorials on that stitch on YouTube!)
Show us YOUR #hearthappypillow on Instagram and Facebook!
How to: Accurate stitch & flip corners
Visit the shop
About me
Coming Soon:
Makers Gallery!
Send me quality photos of quilts you’ve made with my patterns, and I’ll show off your work in the gallery!
My purpose is to inspire quilters to feel confident and connected, to each other and to our foremothers.


Tara Miller, The Quilt District, LLC
Atlanta, GA, USA
quiltdistrict@gmail.com